Testing Master Server, Server and Client Locally
This is very similar to Testing Client and Server Locally, so if you haven’t read that, I recommend starting there as its a quicker setup for regular testing.
The idea is that a Master Server hosts a list of servers, clients connect to master and pick one to join. So the Master Server is connected to by everyone(servers and clients). The minimum number of game instances you need running is 3. 1 Master Server, 1+ Servers, 1+ Clients.
Lets get started.
Check Build Settings
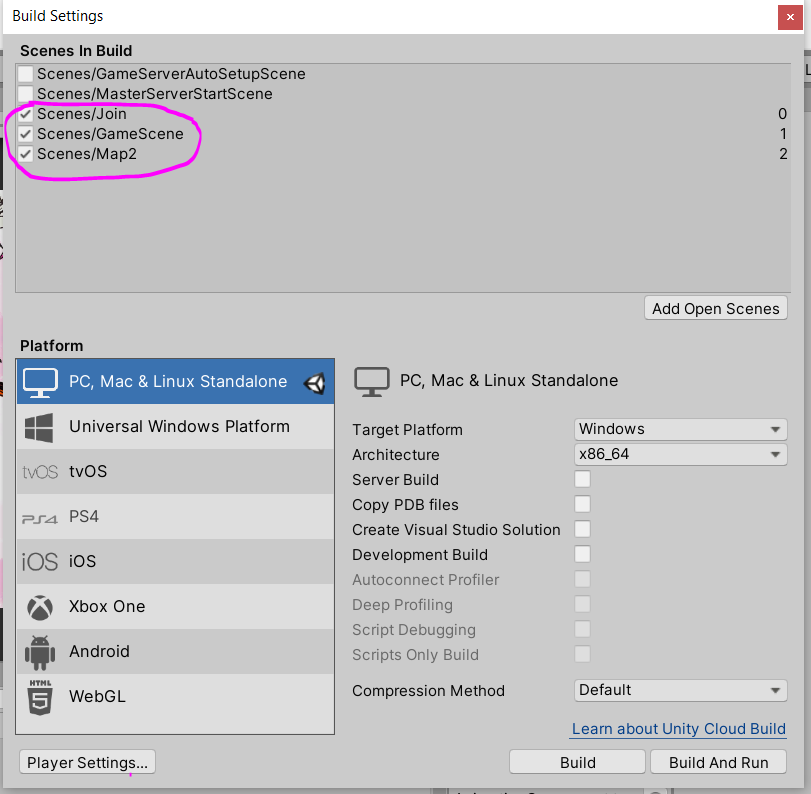
These are the minimum from the sample project, but add as many new scenes you’ve created to here if you need them.
Build and Run
Hit that build button and choose which folder to build the project to. If you’re testing over and over, its worth learning the shortcut of shift+B(Windows, I think cmd+B for Mac?) which will make a build with the last ran build settings. Once its built it should launch an instance of the game outside of unity.
Since we need 3 instances, we’ll use 2 running build instances and 1 running in Unity. So after building and launching 1 instance, go to your build folder and double click your build to get the next one up too.

If you’re testing for bugs or need to debug something, make sure that code base is running in Unity. E.g
- If its about hosting multiple servers and responding from clients? Use Unity instance for the Master Server.
- If you need to check on some server side code? Use Unity for Server.
- If testing some client side stuff? Use Unity for the client.
This is just to ensure we have the debugger in the instance of the code base we care about. It’s tricky but you’ll get the hang of it.
Setting Up Master Server
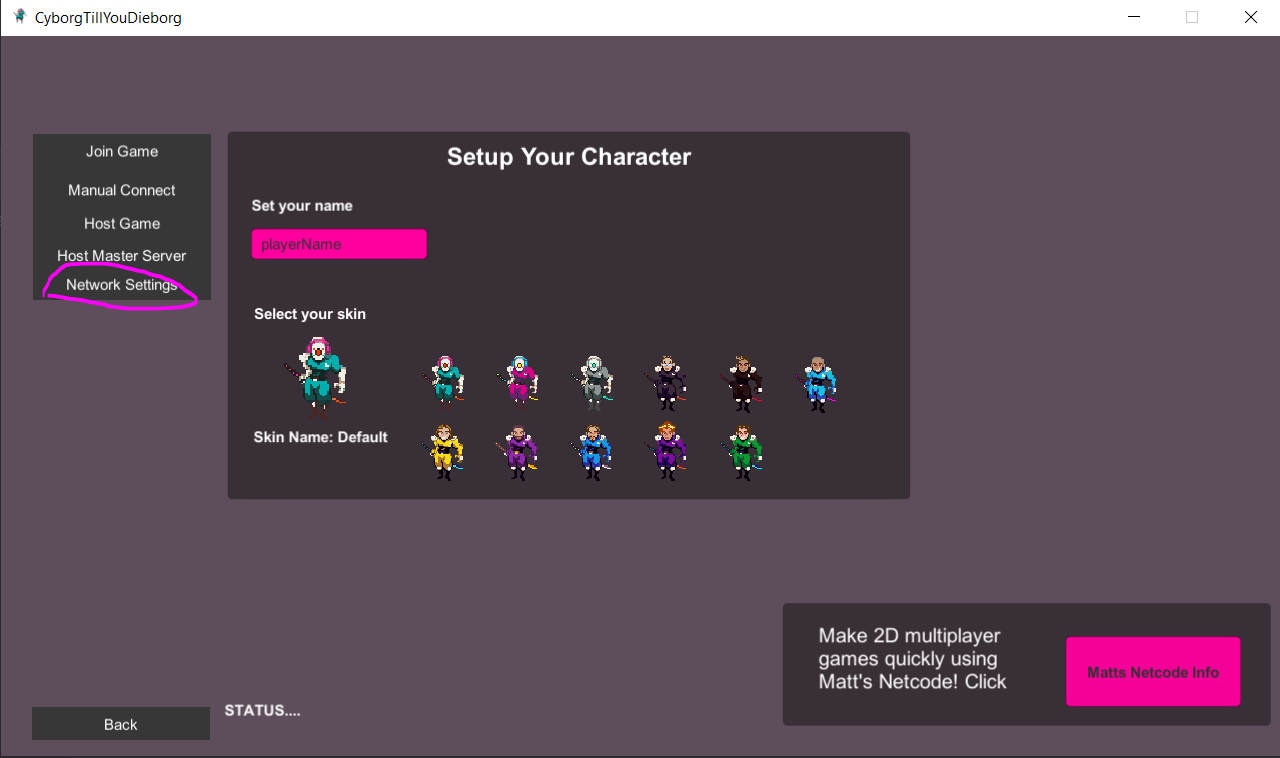
In whatever instance you’ve decided would be the master server, head to Network Settings
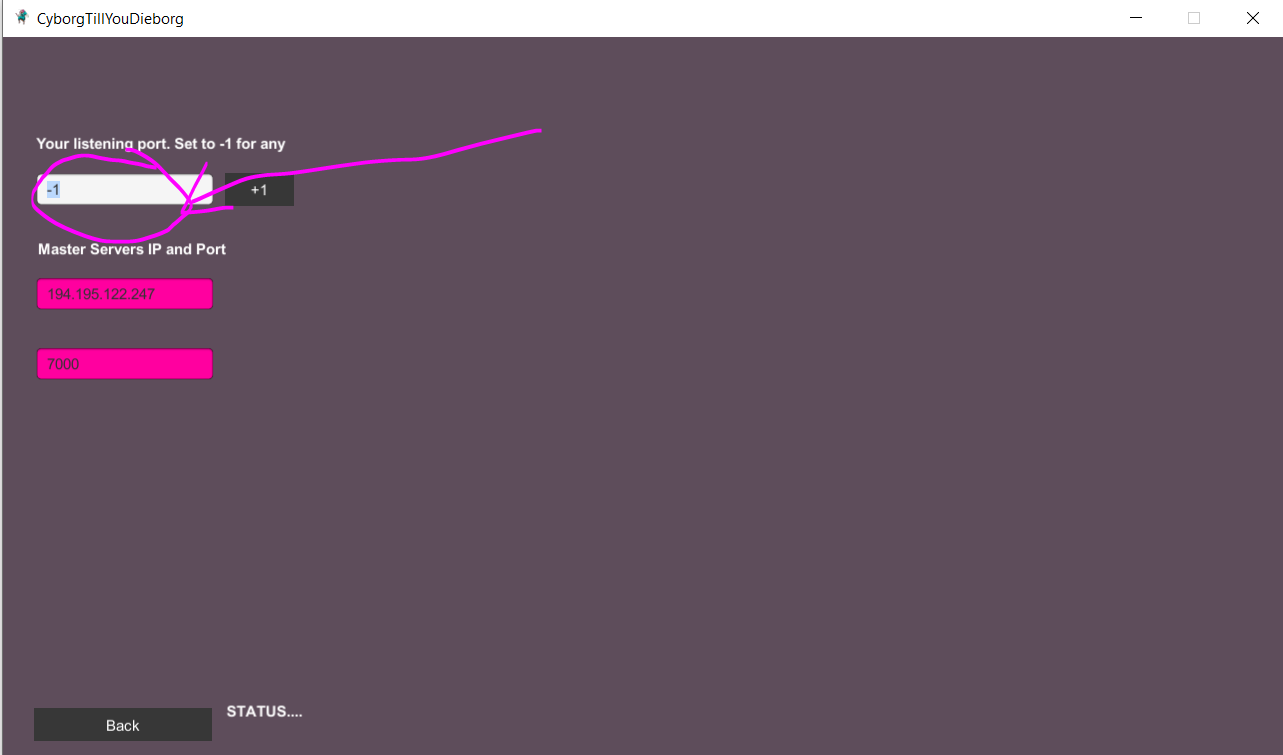
And then set its listening port to something you can remember. My recommendation is 7000 as that’s the default in my menus for connecting:
Hit the Back button.
Now go into Host Master Server

It will take you to a very simple looking screen but its ready for people to join you. This screen will only keep you updated with simples messages in the status at the bottom.
Setting Up the Server
Jump into Network Settings
Ok, to make sure we can connect to the Master Server we’re going to have to change what the IP and Port values we are connecting on
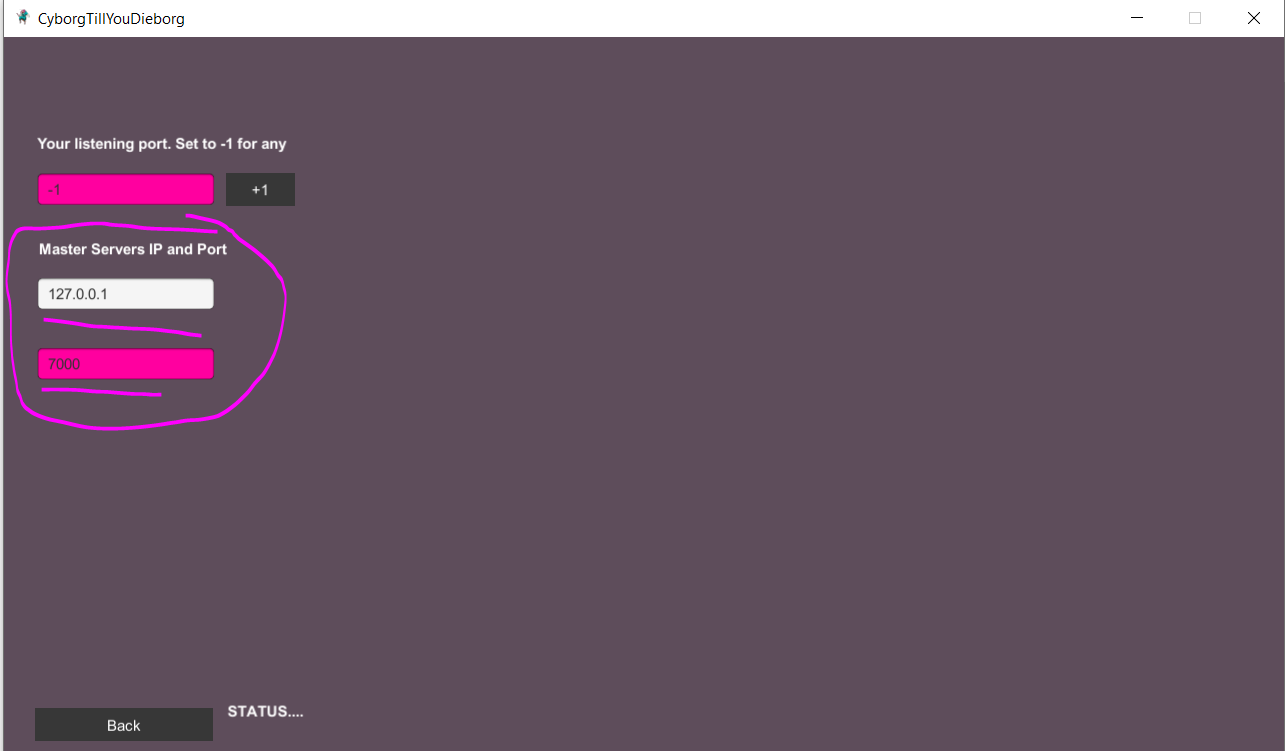
Since we’re hosting locally, change the Master Servers IP to 127.0.0.1 (which means this machine/host machine).
For the Master Servers Port put in the value you put in when you setup the Master Server. If you followed my recommendation, it would be 7000 which is the default value here.
Hit the Back button.
Go to Host Game
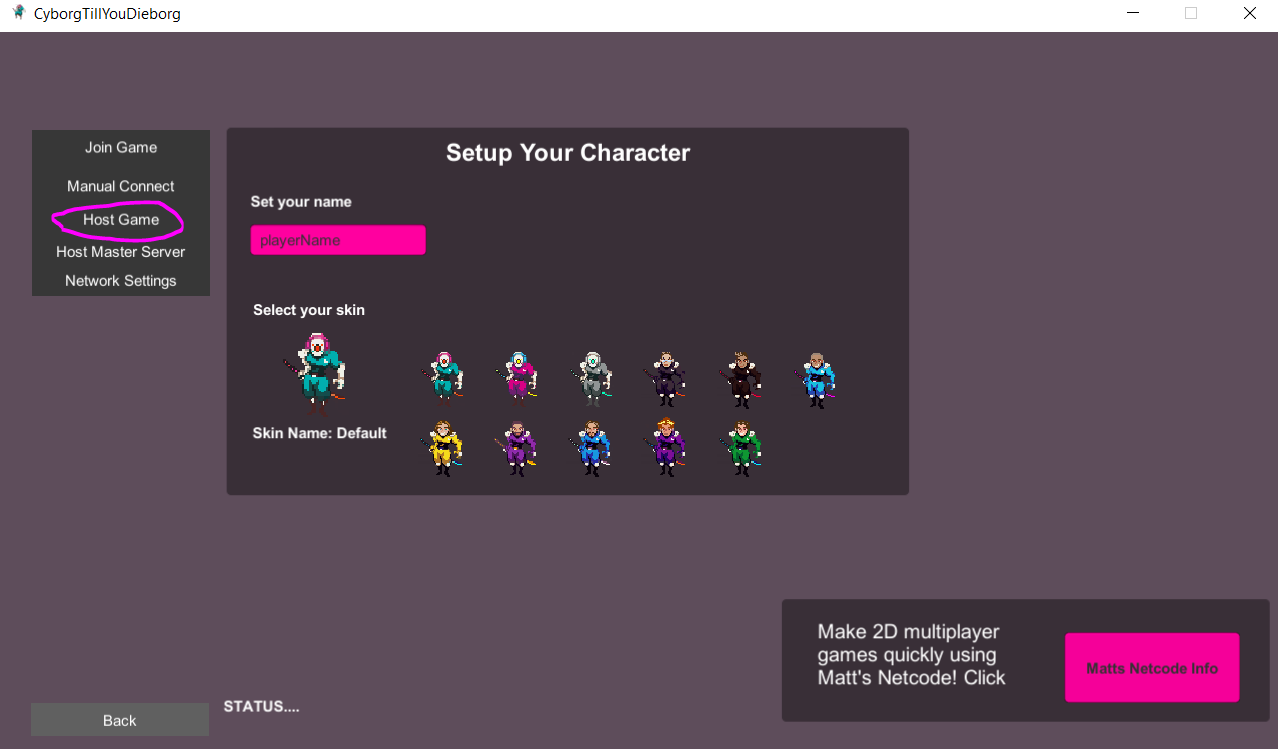
You can name your game server instance now. That name shows up in the list of servers stored in the master server. You can also decide whether the server can also be a player or not. Once you’re ready, hit the Host Public Game button
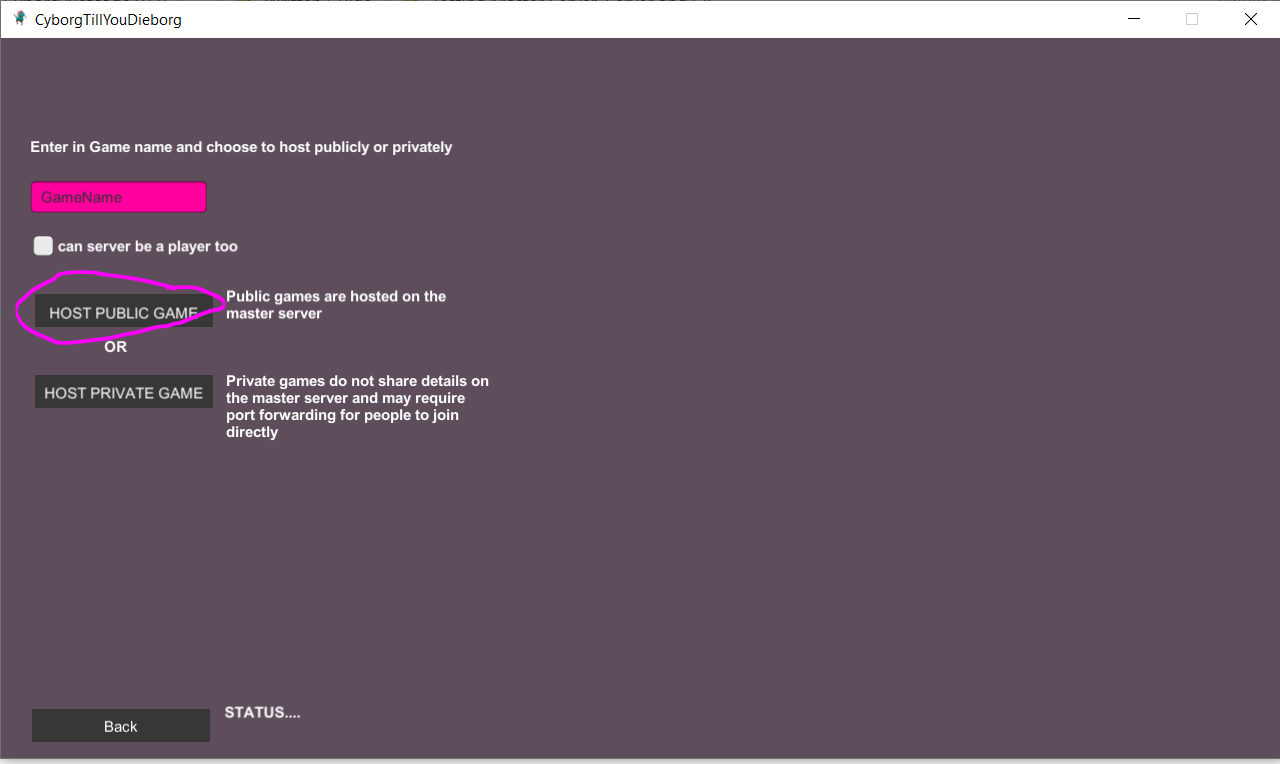
A public game is hosted on the master server. So when you hit that button we connect with the master server with the settings from the Network Settings screen. We tell the master server about our game and then launch into it. So if it worked your should see 2 things happen:
On the Server instance, the game should start
On the Master Server you should see mention of a connection made which may look something like this:
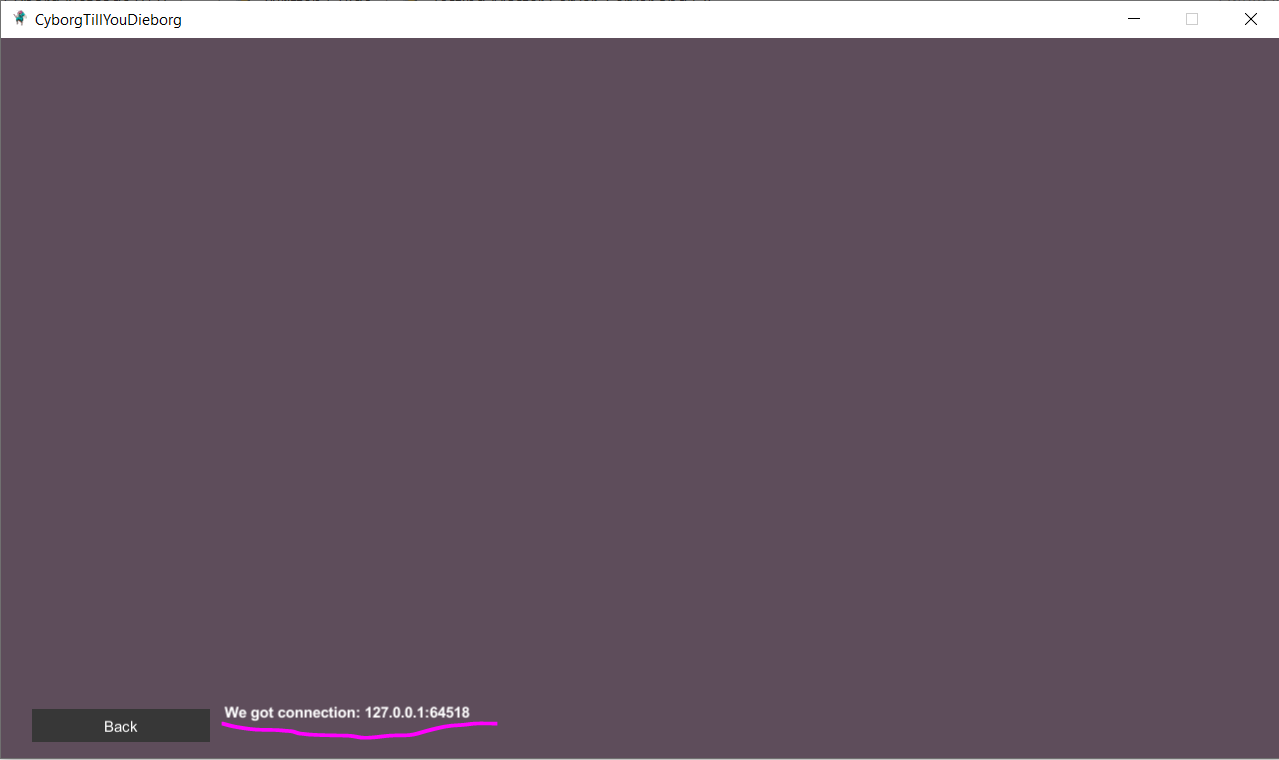
Anyway, onto the client.
Setting Up the Client
Jump into Network Settings
You need to setup the Master Server IP and Port values here the same as mentioned in the Server section above. These details help us connect to the master server
I’ll repeat anyway. Set IP to 127.0.0.1 (local machine) if you’re testing on the same computer. Set port to whatever you set it to during the master server setup phase. If you followed my recommendation, it was 7000
Hit Back button
Now, lets hit Join Game
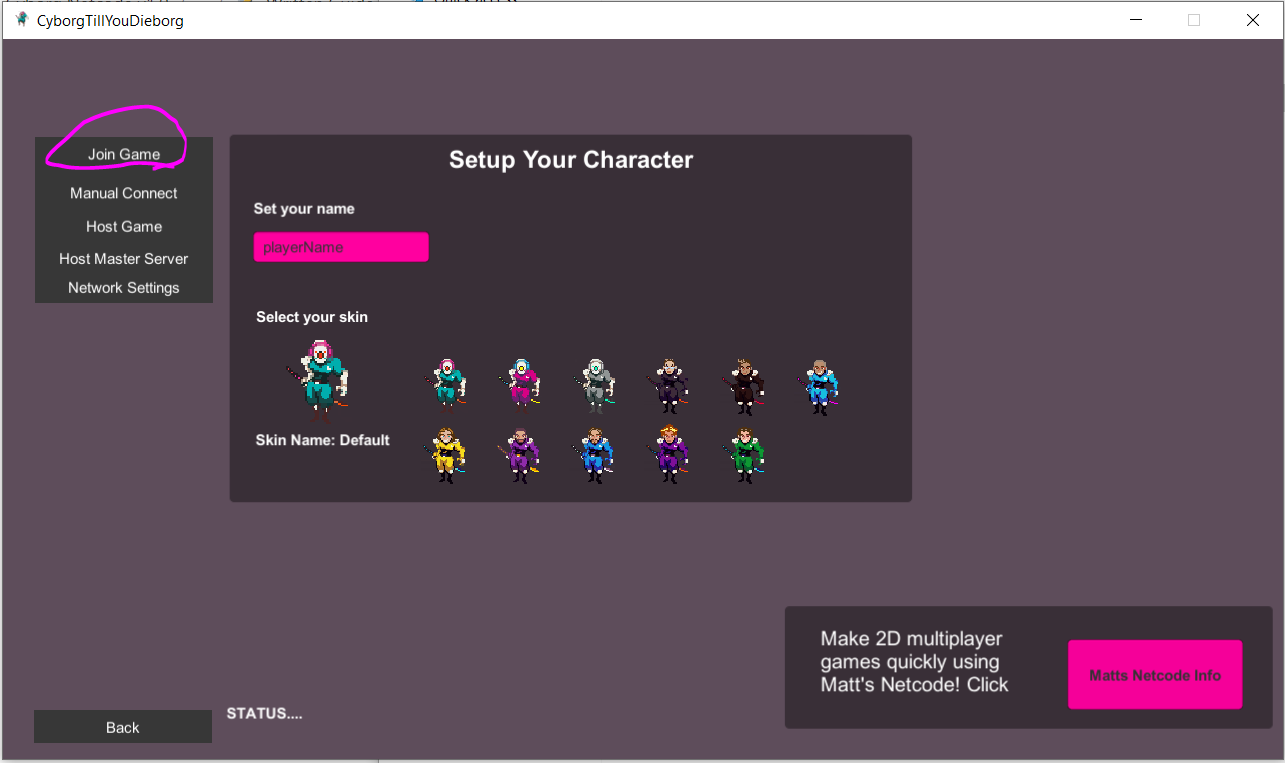
It will take you to a screen that looks like this
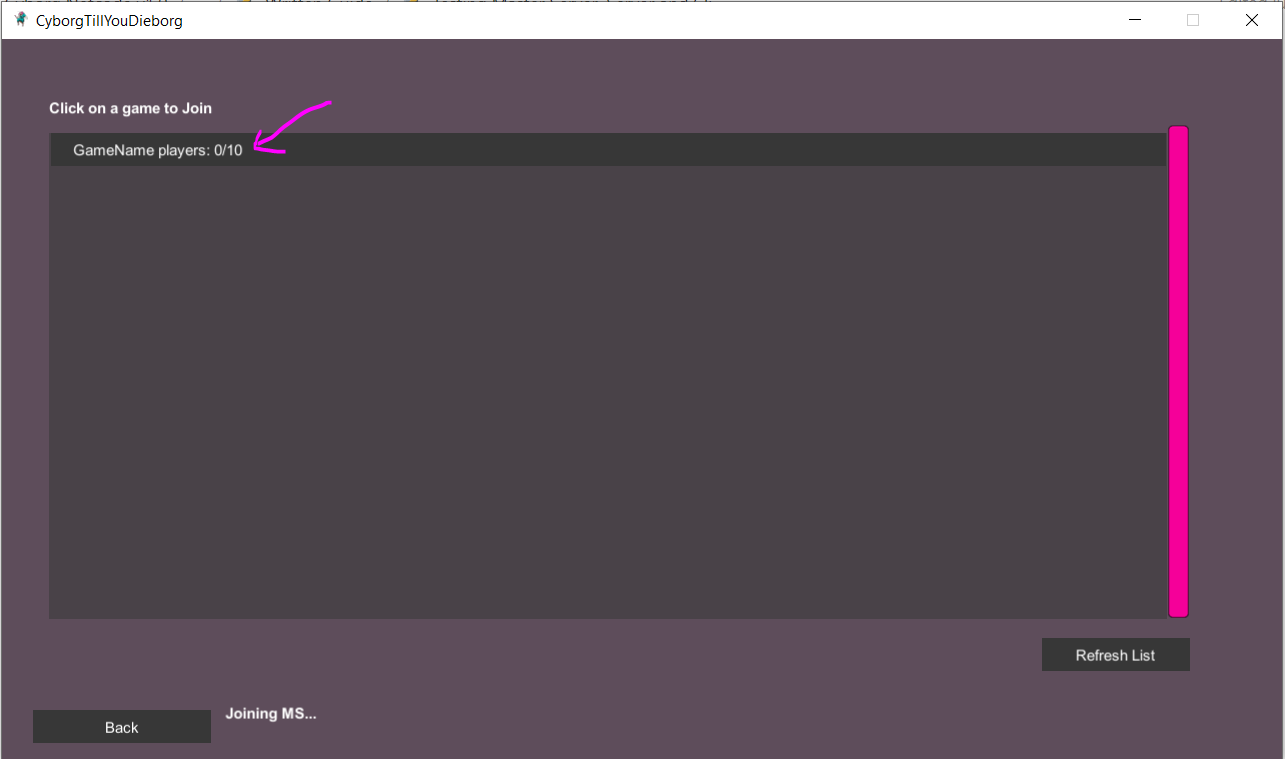
In side the big scroller box you should see at least 1 server game instance listed with the same of your game server. It also lets you know how many players are in the game. If you have more then 1 game server connected to the master server, then you should see more of these.
Anyway, that’s a button, so click on it to join the server 😀
You should be shown a connection screen briefly. It gives 3 attempts ago, but as soon as it succeeds it jumps into the game.
Not Connecting?
If you are unable to connect, make sure the Network Settings for server’s listening IP is what the client is trying to manually connect to. The port may be used already by something else, so try a few different ones before digging deeper. You may have also gotten blocked by your firewall, double check those settings and white list your build and probably Unity too.