New Project
So you want to make an online multiplayer game, well lets get started. First make a new Unity project and give it an appropriate name.
Next you will need to import the CyborgNetcode Package covered here.
Make sure you can run and test the project next which is covered here.
At this point you have what the sample project can offer you, which is a good start. Now you can start tweak, add, remove things.
A good step to do first is to update the connection_key. In Assets folder go through Scripts→Cyborg Netcode→Network Management and open up GameConnection.cs
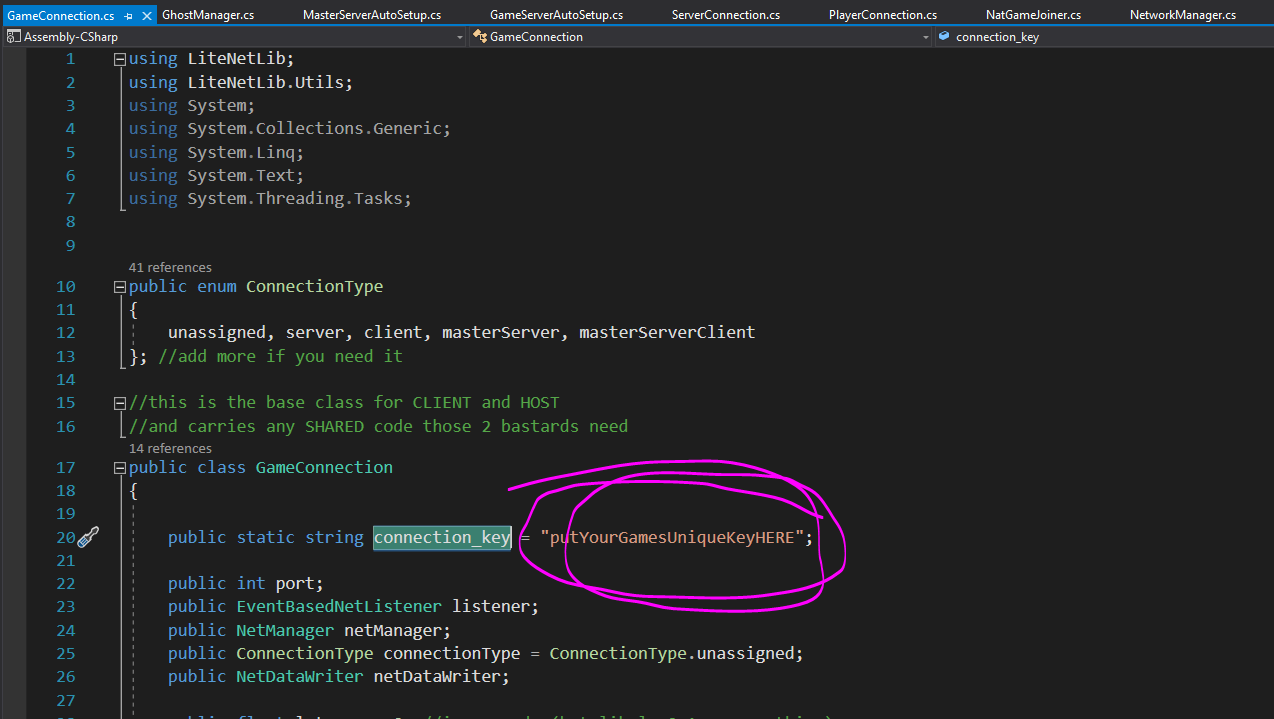
the static attribute connection_key is used to allow clients to connect to your game servers, so it should be somewhat unique as we don’t want many people to guess it as they’ll be able to send random packets to our server. I think perhaps changing the value here to the name of your game followed by some numbers, either random or maybe perhaps version number might be good enough, e.g MyAwesomeGame345789
Well you are probably eager to make stuff, but first up we should learn where a few things are.
Assets Folder
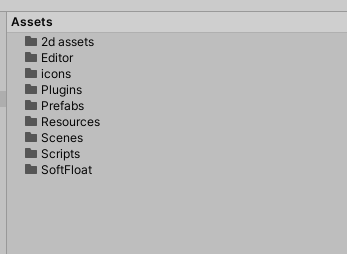
The project is broken into various folders, most you can probably guess what they do. When first exploring this project, probably Prefabs is the most interesting folder to dig into. The folder has some run of the mill prefabs, but also a folder of NetworkEntitites
NetworkEntities Folder
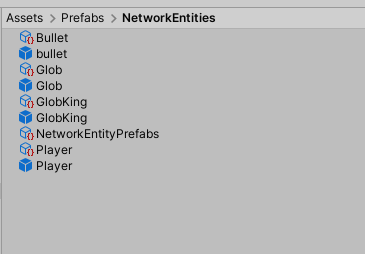
NetworkEntities are the prefabs that our game tries to sync across the network, so all of your player, enemy, items, explosions etc will end up in here. Each NetworkEntity prefab needs a NetworkEntityType scriptableObject to help identify it compared to the others, here is what the Player one looks like

The TypeID should not be the same as any other NetworkEntityType’s ID to ensure uniqueness. Anyway this will be covered more in the next guide, but there is another file worth noting, NetworkEntityPrefabs which contains a list of the prefabs from this folder
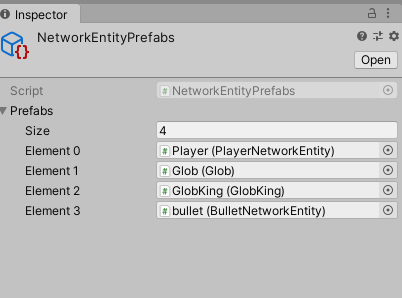
This is so the Client and Server know how to build these entities when they are needed in game. Lets check out the Scripts folder next
Scripts Folder
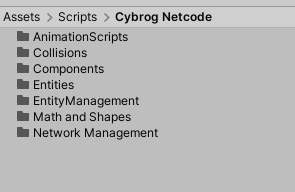
Plenty of scripts in here, but the main driving force of the networking and game you see in the example comes from the Cyborg Netcode folder. A lot of this code can be left as is, whereas some sub folders here may require your attention. For a full reference as to what each script does in these sub folders head here.

The Entities folder again is probably the most interesting for a new comer. NetworkEntity class is the base to all of the classes in this folder so that they have a common ancestry which helps with network replication.
The specific ones you see in game like the PlayerNetworkEntity, Glob, BulletNetworkEntity are all here. Either add your own to this folder or keep all of your own new ones in a folder outside of Scripts/Cyborg Netcode is my recommendation. These scripts drive the main logic for each entity in the game. Ok, lets jump over to Scenes
Scenes Folder
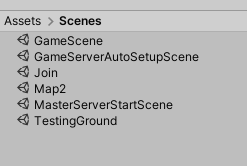
The Scenes folder is probably nothing new or fancy to you. That’s fine, but I’ll point out what scenes are what from the sample.
Join:
This is the starting scene where we can either host a game server or master server, or setup a client and attempt to join a game server. Clients and servers can also setup their player avatar for play here. Clients can find a listing of public game servers listed on the master server they join too.
The UI here sucks, on purpose, this menu could use some shredding and shifting into your own image.
NetworkSetup and NatGameJoiner are the GameObjects to check out here.
GameScene and Map2:
These are actually the game maps, so there are spawn points for players and enemies, walls to bump into and some GameObjects to help deal with the network and game logic.
BattleNetworkUpdater is the main GameObject here driving the game and its network events. Also Level object is where I’m putting static wall solid wall regions for players to bump into.
GameServerAutoSetupScene and MasterServerStartScene:
Probably not that interesting to you now, but will come in handy much later. These are scenes to setup for your dedicated servers, they require no user input and launch the game into either a game server or master server state.
TestingGround:
You can delete this one if you like, I use this scene to test math and collision stuff
What Next?
Well its time to move to the next guide, lets try setup a Player game object as that is likely going to be the coolest most important part of your online multiplayer game, the players!
Jump over to the Settinhg Up the Player Prefab guide